From the Archive: Making a Basic Block Pattern for a New Last April 04 2014

A "shoe last" is the mold that the shoe forms around. Rather than representing a foot, a last defines the space for the foot and gives shape to the exterior of the shoe.
I was working with a last maker, Kevork Kalaidjian, here in Sunland to create a pair of new last just for my company. There was a lot of hand-waving, not because of any language barrier but because of the nature of the task: "a little bit more here", "the toe needs to turn up more" "will all the dimensions still be in size 6 range?". The sander was loud. So we had to yell and use gestures. Kevork is amazing on his 2" belt sander. He can shape a complex form by hand faster than any architectural student can model the same form in Rhino.
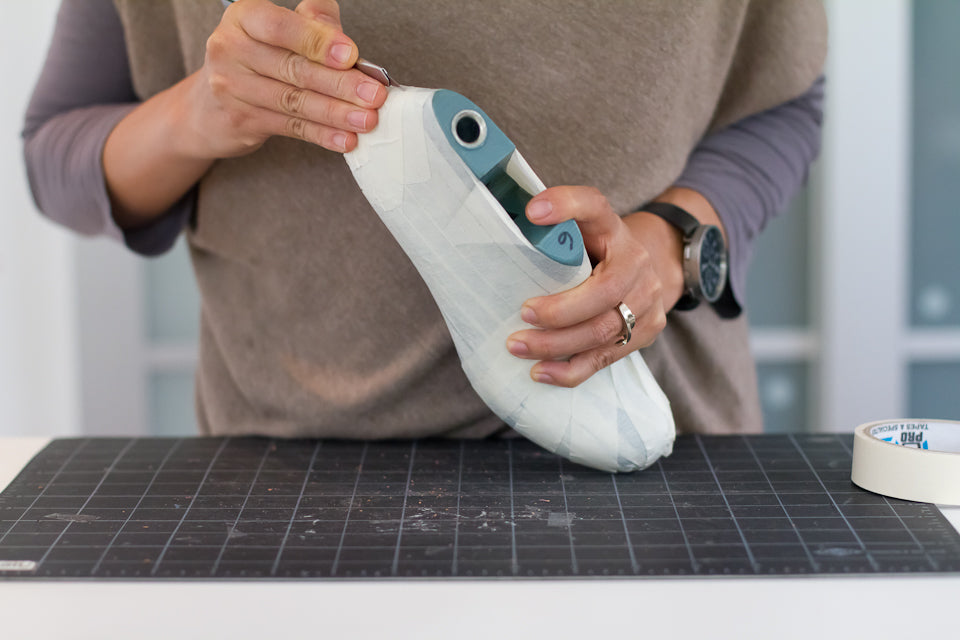
Any last that has not been used in production needs to be tested to ensure the fit (the fit for most people of course) before it can be duplicated in various sizes for production. In order to test this new last, I had to make a shoe from it so that I can try it on and get a feel for further modifications. This post describes the basic steps for transferring the three dimensional form of a shoe last on to the paper for pattern making. Starting with the photo above, the first step is to cover the last with 1" masking tape. Every shoe maker has their own method of covering the last. This method of overlapping the tape above was passed down to me by my first shoe making mentor, Mauricio Osorio. The sequence and orientation of the overlapped pattern affect the way the tape will be peeled off as one sheet. I found this method not only allow me to cover the last faster but also inspires me more. Taping is when I often feel there is endless possibilities for the design.

The second step is to cut off the unwanted coverage of tape.
The third step is to divide the surface into two halves along the center line of the last. The center line is easy to visualize at the heel but requires some attention at the front of the last due to the asymmetry.

The fourth step is to peel the tape off. Care is to be taken to minimize stretching of the tape.

Step 5, flatten the three dimensional "tape shell" on to a piece of paper. Shoe makers are quite specific about how the tape is flattened and where wrinkles are allowed as this affects the geometry of the pattern.
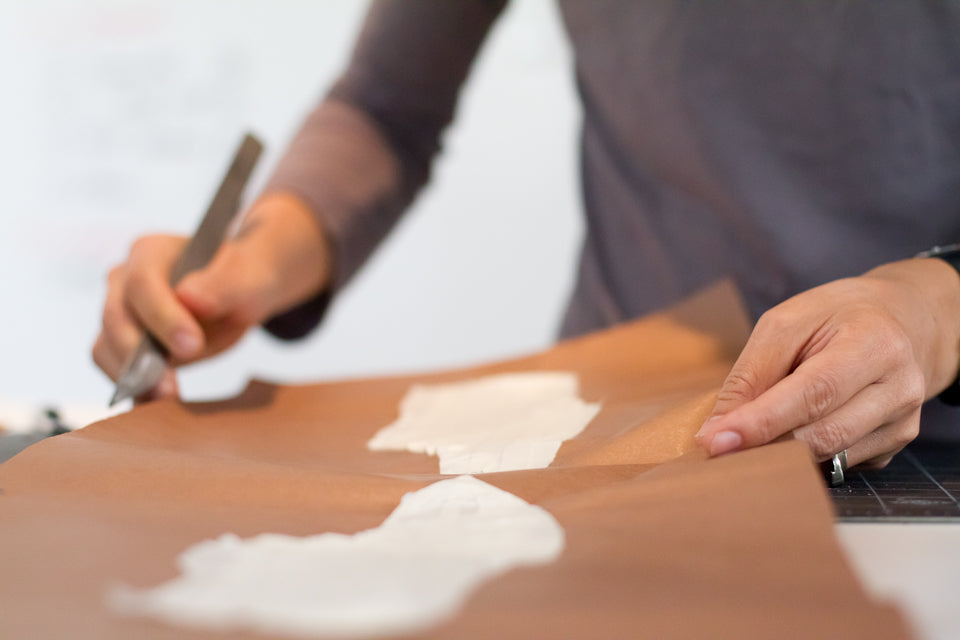
Now the pattern is ready to be drawn - mostly according to the tape but there is also "truing" which rationalizes the lines to make them smoother and more suitable for two dimensional material. Just like draping and truing in the pattern making for garment, some boundary adjustments based on experience is made here. In the case of garment, that adjustment might be adding wearing ease; in the case of shoe, it might be subtracting material around the heel to make lasting easier.
From this point, a paper "jacket" is made to test its fitting to the mold/last. In general, I have to adjust the pattern from the first jacket and make a second jacket to get a pattern that I am happy with the fit.
Once the paper pattern is done, a simple shoe can be made of leather for trying on.


